
How-To Build a Strong Floating Foundation with CAMO BLOCK
Stop fighting the dirt. Building a low-profile deck, shed, or walkway shouldn’t feel like a grueling excavation project. When your design allows for a floating foundation, you can bypass the pickaxe and the need for deep footings that risk interference with underground lines. Build on the earth, not against it.
The CAMO BLOCK offers a revolutionary way to create a stable foundation without the back-breaking labor of traditional masonry. Made from heavy-duty, UV-protected recycled polypropylene, each block is rated to support up to 1800 lbs.
As a reminder, always check with your local building code officials before starting any project. Freestanding decks 5 ½ in. to 30 in. tall, and smaller than 200 square feet in size, typically do not require building permits. Moving forward, here is everything you need to know to spend less time in the dirt and more time actually building your project.
Step 1: Planning and Site Preparation
CAMO BLOCK can be used to build various platform profiles and projects. To determine how many blocks to use for a low-profile, raised-profile, variable-height, or hybrid-profile project, check out the fully detailed installation guide for CAMO BLOCK here.
Before you pick up a BLOCK, you must ensure your ground is ready. A floating foundation is only as stable as the soil beneath it.
For maximum stability, it is highly recommended to lay down a 2-3 inch base of compacted gravel or crushed stone. This prevents the BLOCK from settling into soft mud and provides essential drainage to keep your lumber dry. However, if you are in a dry environment with level ground and opting for a quick installation, you do not need to use a paver base.
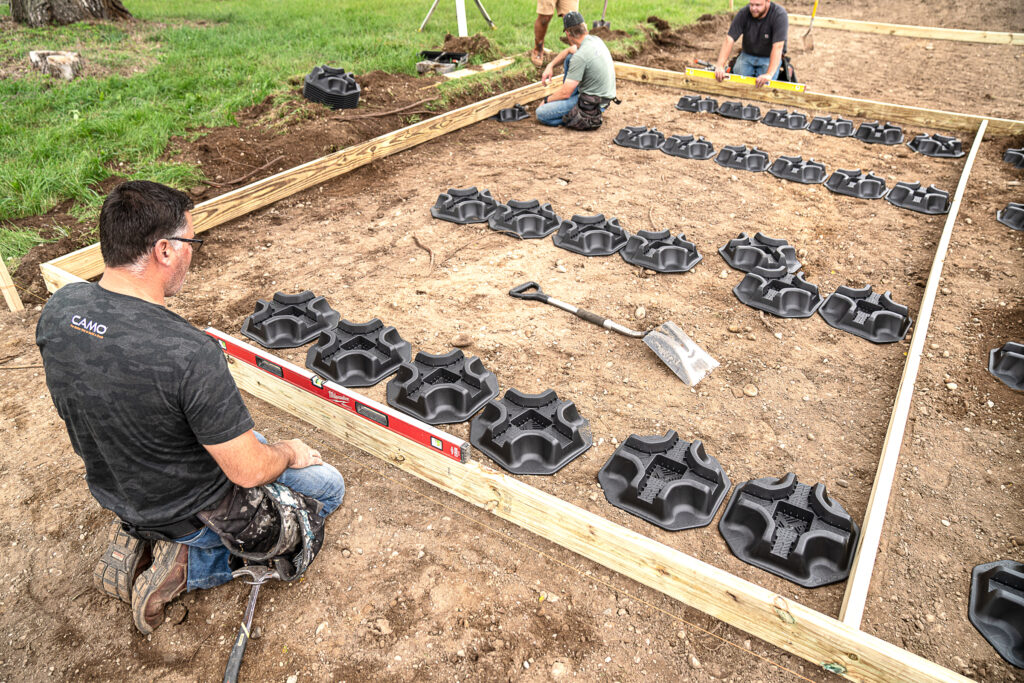
Step 2: Laying Out the CAMO BLOCKS
Consult your structural plans to determine the spacing of your joists and beams. Generally, CAMO BLOCKS should be spaced no more than 5 feet apart.
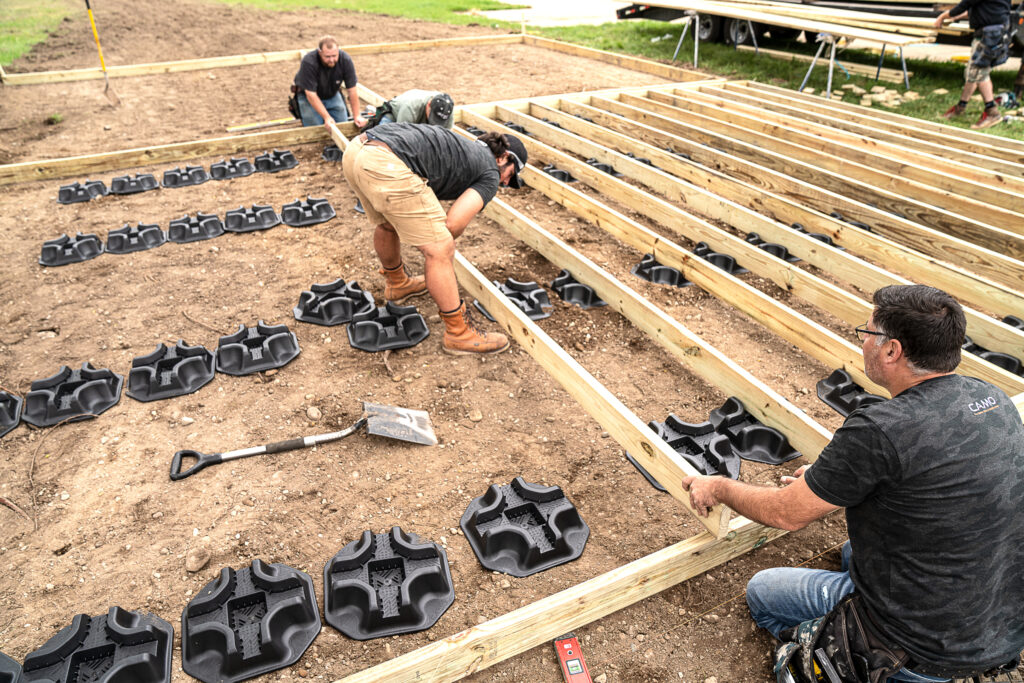
- Grid Alignment: Position your BLOCKS in a grid pattern. One of the primary advantages of the CAMO BLOCK is its “nested” design, which allows it to accept 2×4, 2×6, and 4×4 wood posts or joists.
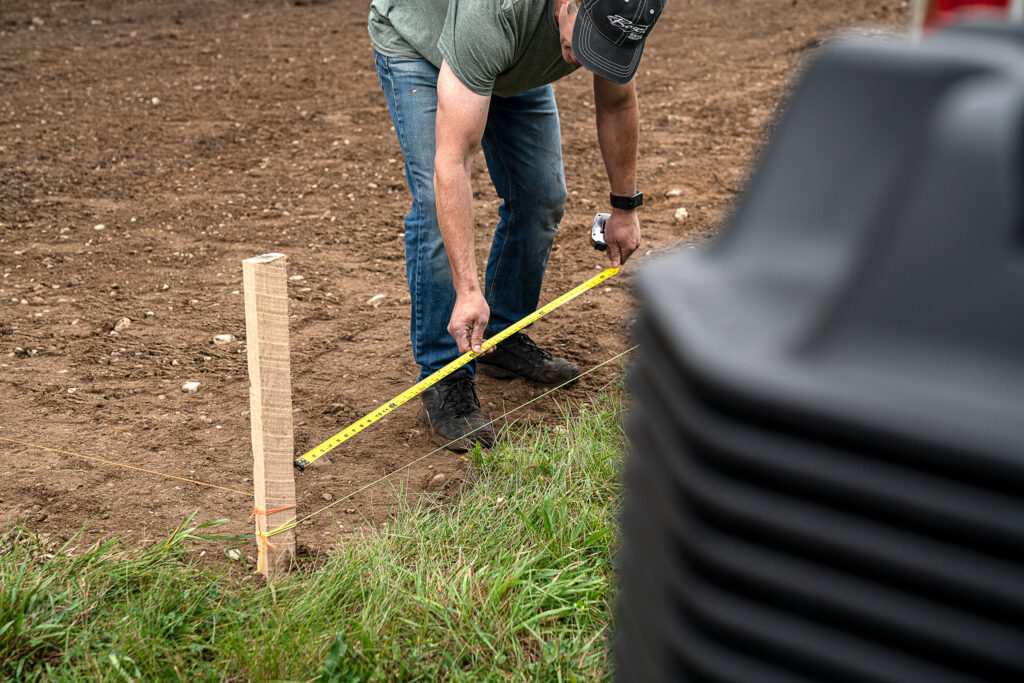
Squaring the Foundation: Use the 3-4-5 triangle method to ensure a perfect 90-degree corner or measure diagonally from corner to corner to ensure your block layout is perfectly square.

Step 3: Installing Joists and Support Posts
The CAMO BLOCK is designed with a multi-purpose top surface that accepts standard 2X joists and 4×4 posts. Additionally, there is a 2” slot for metal joists, and an allowance for 6×6 post settings as well.
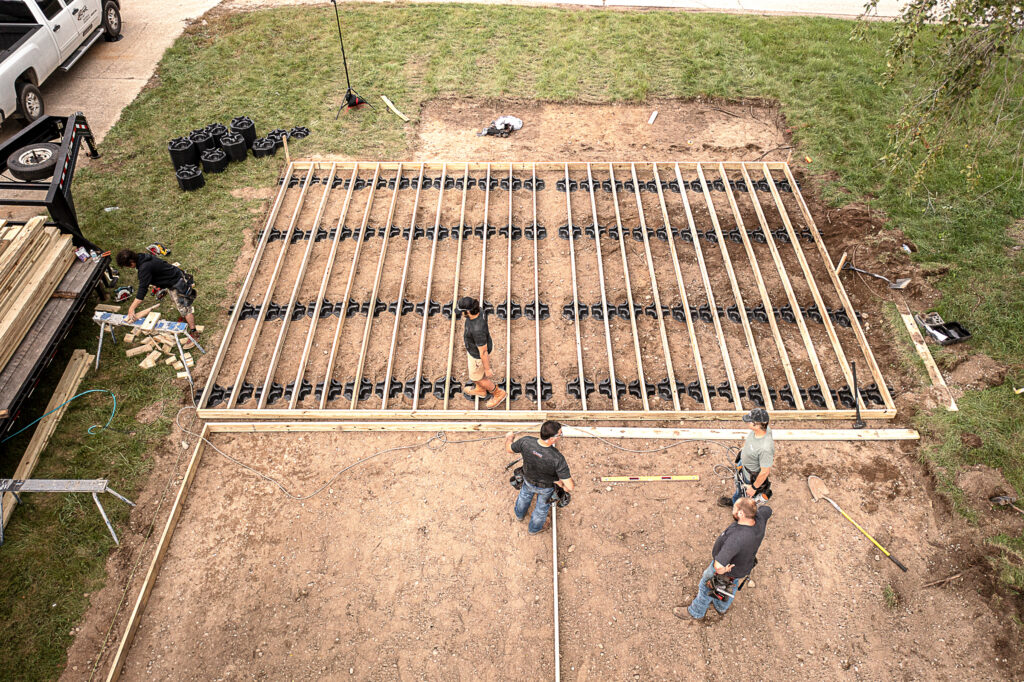
- Direct Joist Support: If you are building a very low-profile “platform” deck, you can place your standard 2X joists directly into the molded slots of the BLOCK.
Post Support: If your project requires more height, the center of the block is designed to hold a 4×4 pressure-treated post. Once the post is inserted, you can cut it to the desired height and attach your rim joists.
Step 4: Leveling the Structure
Rarely is the ground perfectly flat over a large area. To level your foundation:
- Lay your joist across two BLOCK.
- Place a carpenter’s level on top of the joist.
- If one side is low, do not shim the wood. Instead, add or remove gravel beneath the CAMO BLOCK until level. This ensures the weight remains distributed across the entire surface of the BLOCK.
Step 5: Final Assembly and Ventilation
Once your BLOCKS are level and your joists are in place, secure your framing according to local building codes. Because the CAMO BLOCK raises the lumber off the ground, it provides critical airflow. This ventilation prevents moisture buildup and rot, significantly extending the life of your wood frame.
The Better Floating Foundation
If your design allows for a floating foundation, CAMO BLOCK lets you skip the hard part and get straight to the build. Following these steps ensures a professional, durable result for your next backyard sanctuary or garden shed. It’s time to stop fighting the dirt and finally start building.